faewyck montage

faewyck montage

Thursday, October 9, 2014

Wedding!

On Saturday, September 27, my oldest son Andrew married his long-time girlfriend, Sylwia, who we are just crazy about. It was a lovely, lovely day. Everything was beautiful, including the weather. The ceremony and reception came off without a hitch and a good time was had by all.
My brother flew in from Utah and stayed with us for a week, and all the boys were home. We had a housefull! After all the planning and preparation, it seems surreal that it's now over. It was one heck of a party. I'm exhausted :)
Until all the official photos are ready, I have this one to share of the newlyweds- taken at our beautiful Presque Isle.


Busy busy busy

Well as usual it's been eons since I last posted. We have been crazy busy finishing up the remodel to get the guest room and bath done before my son's wedding.
Well, "finishing the remodel" is a funny, coz that's never done, but finally the house is at least guest ready.
Here's the guestroom - I made the upholstered headboard, bedskirt, pillow covers, and rag quilt. Also built the bed frame! (hubby's help on that one). Got it done in record time thanks to excellent project plans from www.ana-white.com.
...also made the fun anchor art on reclaimed wood. Cool project!


The stud walls are up and finished, along with the DIY barn doors that separate the workshop from the downstairs hall and bath.

Cutting, finishing, and installing all that reclaimed wood was quite a project, but am so glad we did it...adds some character and the cost was seriously next to nothing.
Next step - stenciling the concrete floor. I've seen some amazing work with floor stencils, and of course now I just have to try it.

Friday, April 11, 2014

Cloth over OOAK

'Seren' is going to her new home. During all the remodel/reno stuff I did manage to take some pics before packing her up. She is one of a series of smaller fairies I had been working on for awhile.


                                                 10" tall      Nylon over muslin


The hands were challenging. I must have been nuts to do a cloth over for these tiny fingers, but mission accomplished! Yep, that's a dime.

I wired the hem of her dress. I like the movement it creates with lightweight, floaty fabrics like chiffon.


Tsk tsk

So I am totally neglecting my blog...just like I feared I would. *sigh*
Lots has been happening here of late, though....just not so much with cloth dolls or fiber art.
We started a pretty extensive renovation/remodel/update of basically the entire house about a year ago, and being an avid DIYer, a lot of the work has fallen to me. I do enjoy the process...it's another creative outlet, but it's a major time sucker for sure. That's just the way of it with renovations - if you want to spend less $, ya gotta spend more time. I can finally see the proverbial light, and look forward to more time in the studio finishing dolls instead of finishing reclaimed lumber. Not that I mind doing that, I just miss my little people too.
Here's a small sampling of the DIY stuff:

Wall ledges built from 1 X 2s and 1 X 3s


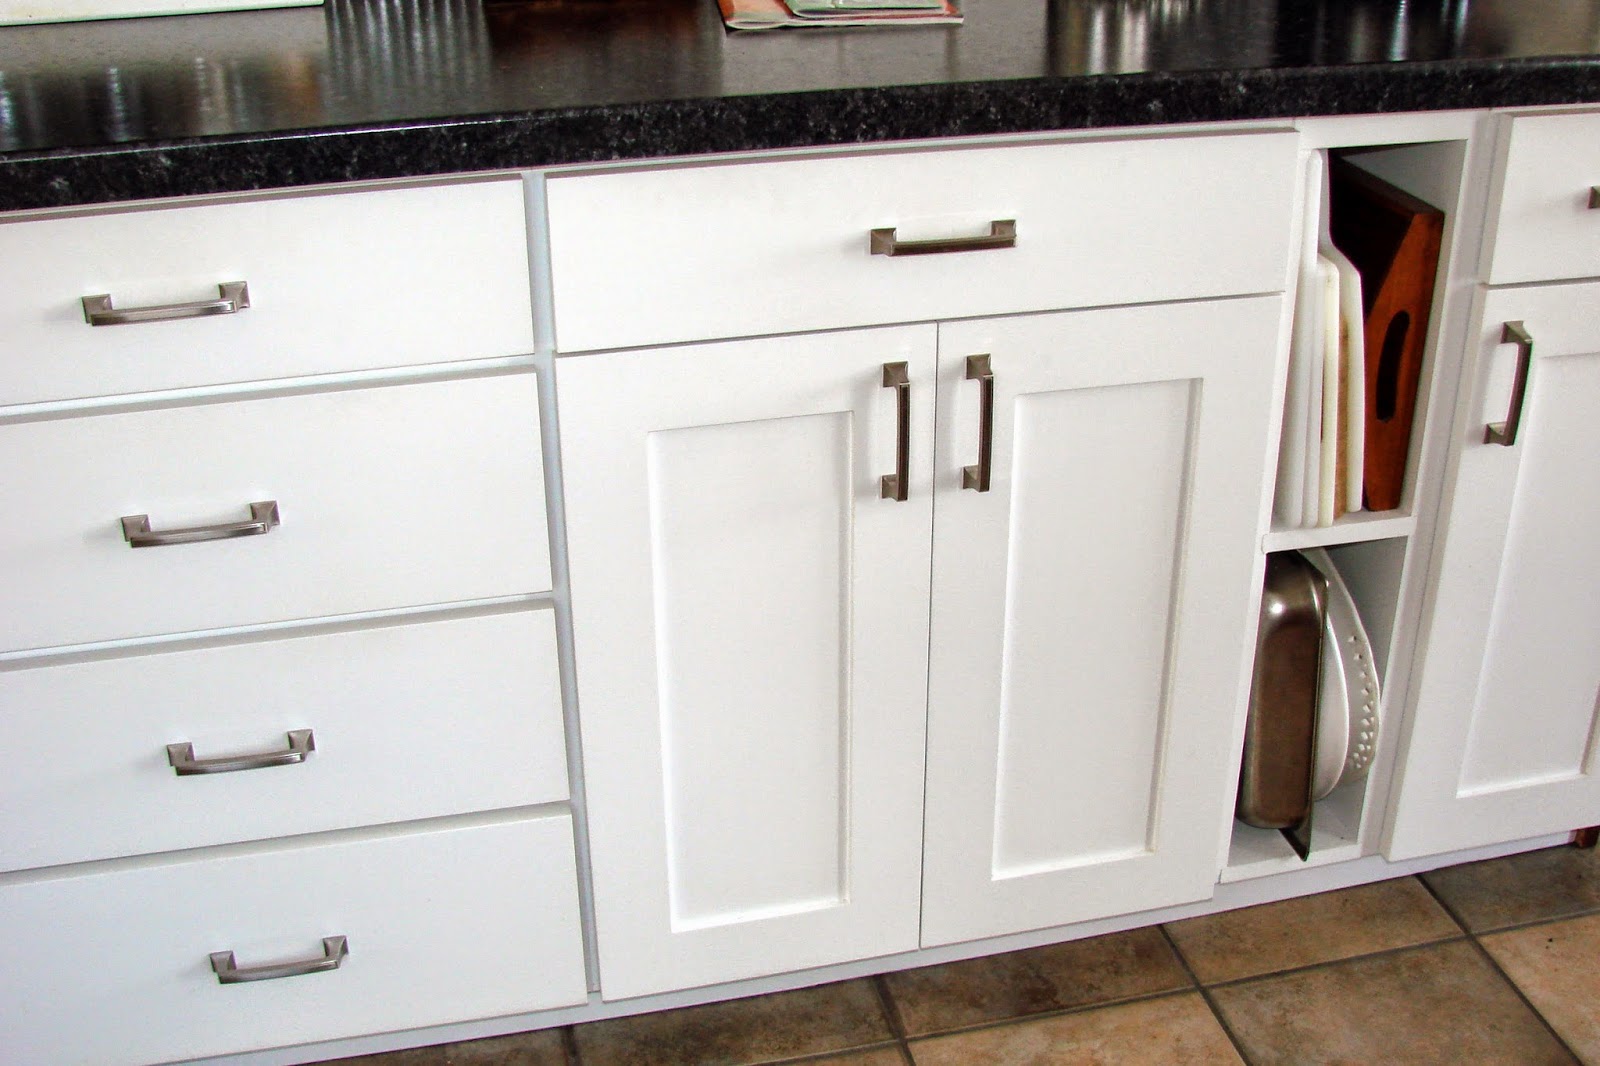
New cabinets
New glass tile backsplash
New slip covers for the provincial loveseat. I used a graphic from The Graphics Fairy , enlarged it, then transferred it to fabric treated with bubble jet set.
Pillow covers using more graphics from The Graphics Fairy
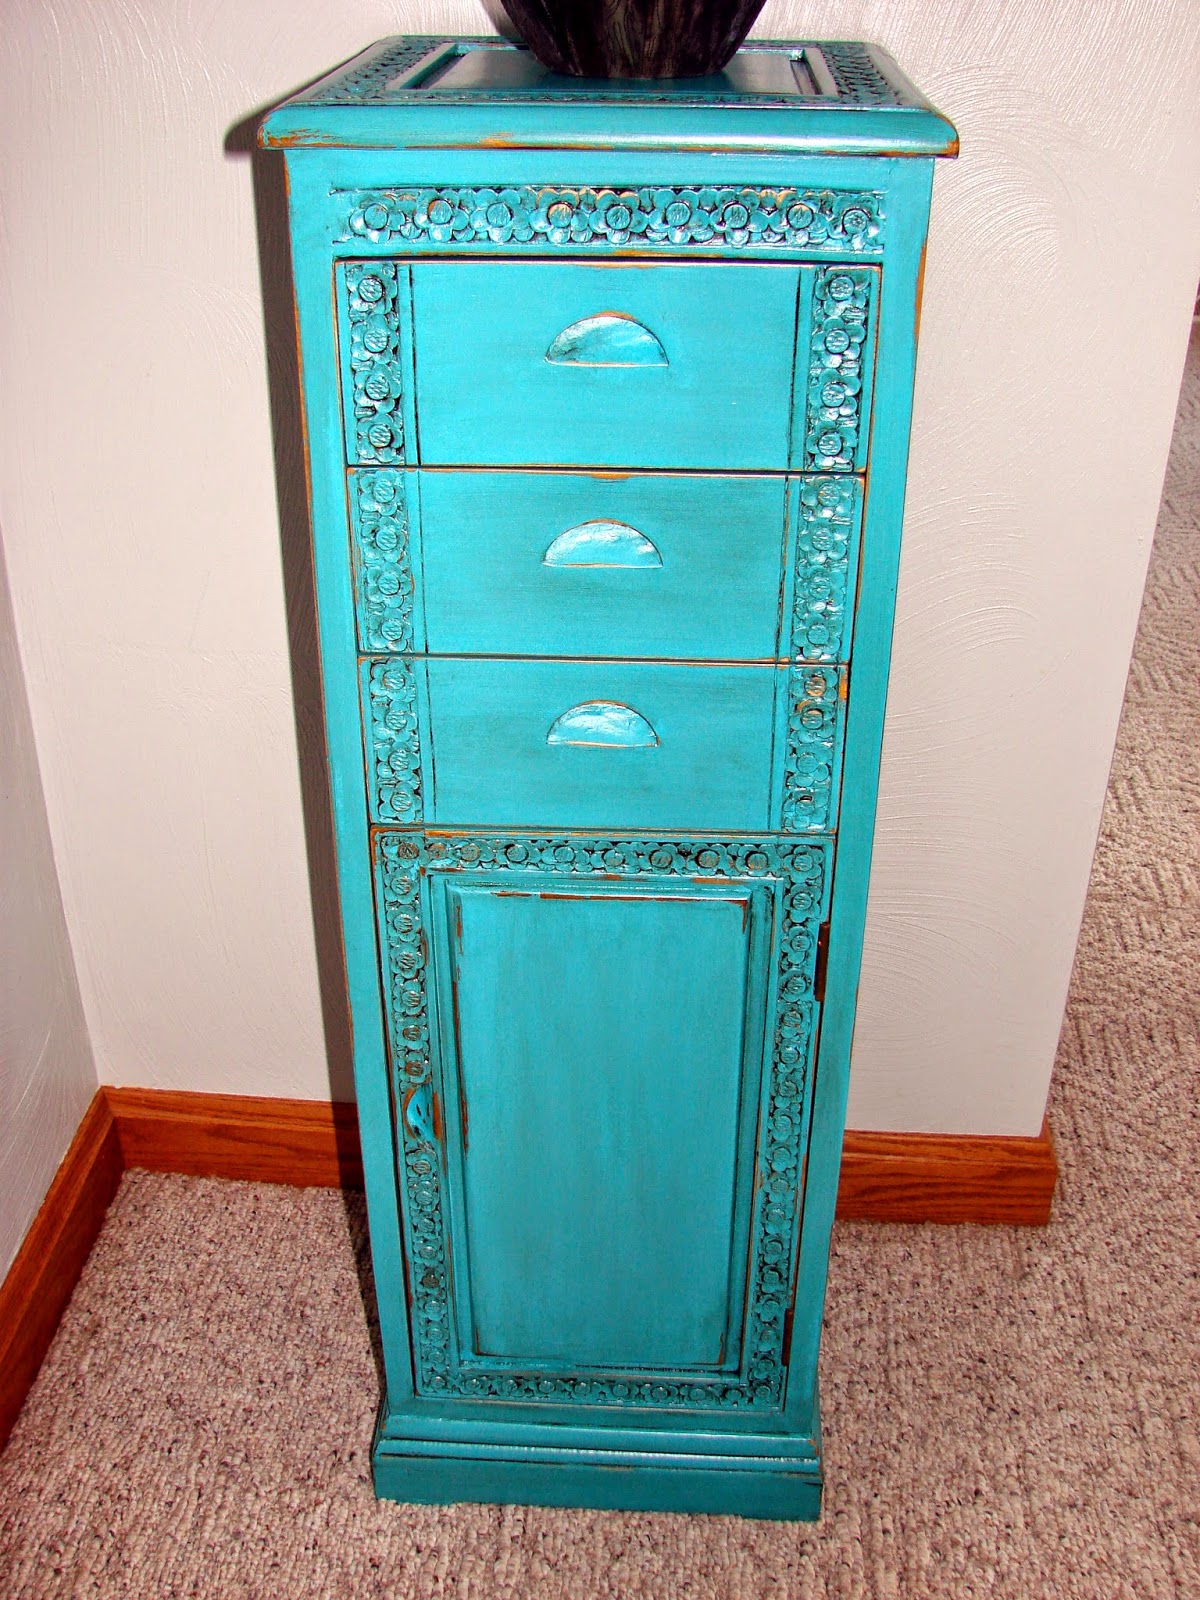
Chalk painted cabinet
Reclaimed lumber wall
These pine boards were from giant crates that housed some sort of HVAC units delivered to my husband's job site. They were free for the taking so we dismantled the crates, cut up the lumber and loaded it all in the Outback.
 (still not finished, but it's on the wall!)


Saturday, December 14, 2013

Who will I be?

I just finished this head based on my Henley the House Gnome pattern. I modified it quite a bit while needlesculpting. Until he speaks to me about just what he wants as far as a body and costuming, he's on hold. Wish he would hurry up coz he's a gift and I have to get moving on it!

   
Meanwhile, I've been working on more fabric bottles. They are a lot of fun to make. The one on the left is heat distressed.


Wednesday, December 4, 2013

Fabric marking pen

The Frixion pen by Pilot is marketed as an erasable ink ballpoint pen. The "eraser" is actually the hard plastic ball at the bottom of the pen. It supplies the necessary friction to erase the ink and works quite well on paper. 
Available at Office supply stores.
3 pack for $6.99 at Office Max

                             BUT...

it also works very well on fabric as a marking tool. 
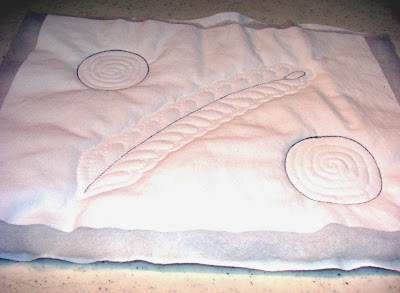
It creates a thin, black, very smooth, and easily visible line and is especially useful for marking quilt tops.
If working on a white or very light fabric, you can draw or trace designs with minute detail and no worries of any ink lines remaining visible on the finished piece

                            BECAUSE...

you lightly press the quilt top when finished. The heat from your iron provides the friction to erase the lines and practically no pressure is needed. You don't need to smash the batting or actually "iron". Awesome tool to have when a light pencil line just won't do.

I tested it on several fabrics but use caution on colored fabric. It probably contains a bleaching agent because on SOME of the samples, the black lines disappeared, but left faint white lines in their place. It didn't do this on all colored fabrics - just some. I recommend it for white or light colored backgrounds - especially prints. Test on brightly colored fabric first.


Marked sample
After quilting


After lightly pressing with iron. Look Ma!...no ink lines

Friday, November 29, 2013

My first post!
I figured it would be easier to blog about what's new at Faewyck Studios instead of constantly updating pages on the website, but we shall see. Time will tell if it is working for me or not.

First off, I have decided to add a mess of free tutorials to my site. Coming soon!

All are fiber art related, most dealing with cloth doll making. I'm editing instructions now for tutorials on creating wings, making realistic eyes from polymer clay, and the basics of heat distressing fabrics. I will add these as they are completed, with more to come in the future. I have a lot of ideas, some based on my old Hints 'N Tips pages but with more detailed content. Some are taken directly from hands-on workshops I have taught over the years. Stay tuned :)